Brushes & Tutorials FAQ
-
An iPad and either a 1st or 2nd generation Apple Pencil, or an Apple Pencil Pro, are essential for use with most of my brushes - this way you can use pressure to make the stroke bigger/smaller/more or less solid etc. This does not apply to stamp brushes.
If budget is a concern, you will be absolutely fine with a cheaper iPad. The main advantage of an iPad with more memory (like iPad Pro) is that it will enable you to have more layers and larger canvases, and also might have faster performance. However, most iPads will give you good enough performance for casual/hobby use as long as they are compatible with the right Apple Pencil.
There are multiple different versions of Apple Pencil - and different iPads have different compatibility with them. So it’s important to make sure that the pencil and the iPad that you buy are compatible with each other. It's very important to note that the Apple Pencil USB-C is NOTpressure sensitive and will not give you the functionality you need for digital art.
The following website gives you a list of which iPads are compatible with which pencil version, and as long as you buy an iPad and pencil combo that is listed on that page and does not include the USB-C version, you should be good to go with Procreate!
https://support.apple.com/en-gb/HT211029
The iPad app you will need is called Procreate, and the latest version which is what you can find in the app store. They are continually updating and improving the app, and I’m always testing my brushes when a new version of Procreate comes out to ensure that they are forward compatible. I am not affiliated with Procreate in any way.
-
First of all you'll need to click the download button using your iPad. Also make sure that your iPad and the Procreate app are updated to the latest versions.
UNZIP YOUR FILES
- Open the Files app that comes with the iPad. It looks like a blue folder.
- Inside the Files app, navigate to iCloud Drive → Downloads. If you don't see your file, sort by date (icon at top right).
- If it's not there, check On My iPad.
- Tap the white .zip file once to unzip it. A blue folder with the same name will appear. Tap to open it. You should now see the .brushset and .swatches files.
OPTION 1: INSTALL DIRECTLY FROM THE FILES APP
- Tap any .brushset files and they will load into Procreate, inside the brush library you last opened, at the top of the list.
- Tap any .swatches files and they will load into Procreate at the bottom of your color palettes.
OPTION 2: IMPORT VIA PROCREATE
- Open Procreate and tap the brush icon.
- Select the Brush Library you want to add the brushes to. If you don't see all libraries, pinch the Brush Library screen with two fingers to zoom out and choose one by tapping it.
- Tap the + at the top right of the Brush Library.
- Choose Import from Files.
- Navigate to your .brushset file and tap it. Your brushes will appear at the top of the Brush Library you have selected.
- To import swatches, tap the color dot top right, and navigate to the Palettes tab.
- As above, tap the +, choose Import from Files, then pick the .swatches file. The palette will appear at the end of your Swatches panel.
-
Procreate has recently released a new update to their app (Procreate 5.4) which has introduced Brush Libraries, which can at first make it look like all your previously downloaded brushes have disappeared. However, your brushes should still be there in a different brush library, called the “Classic Library.” This video will show you how to navigate there.
-
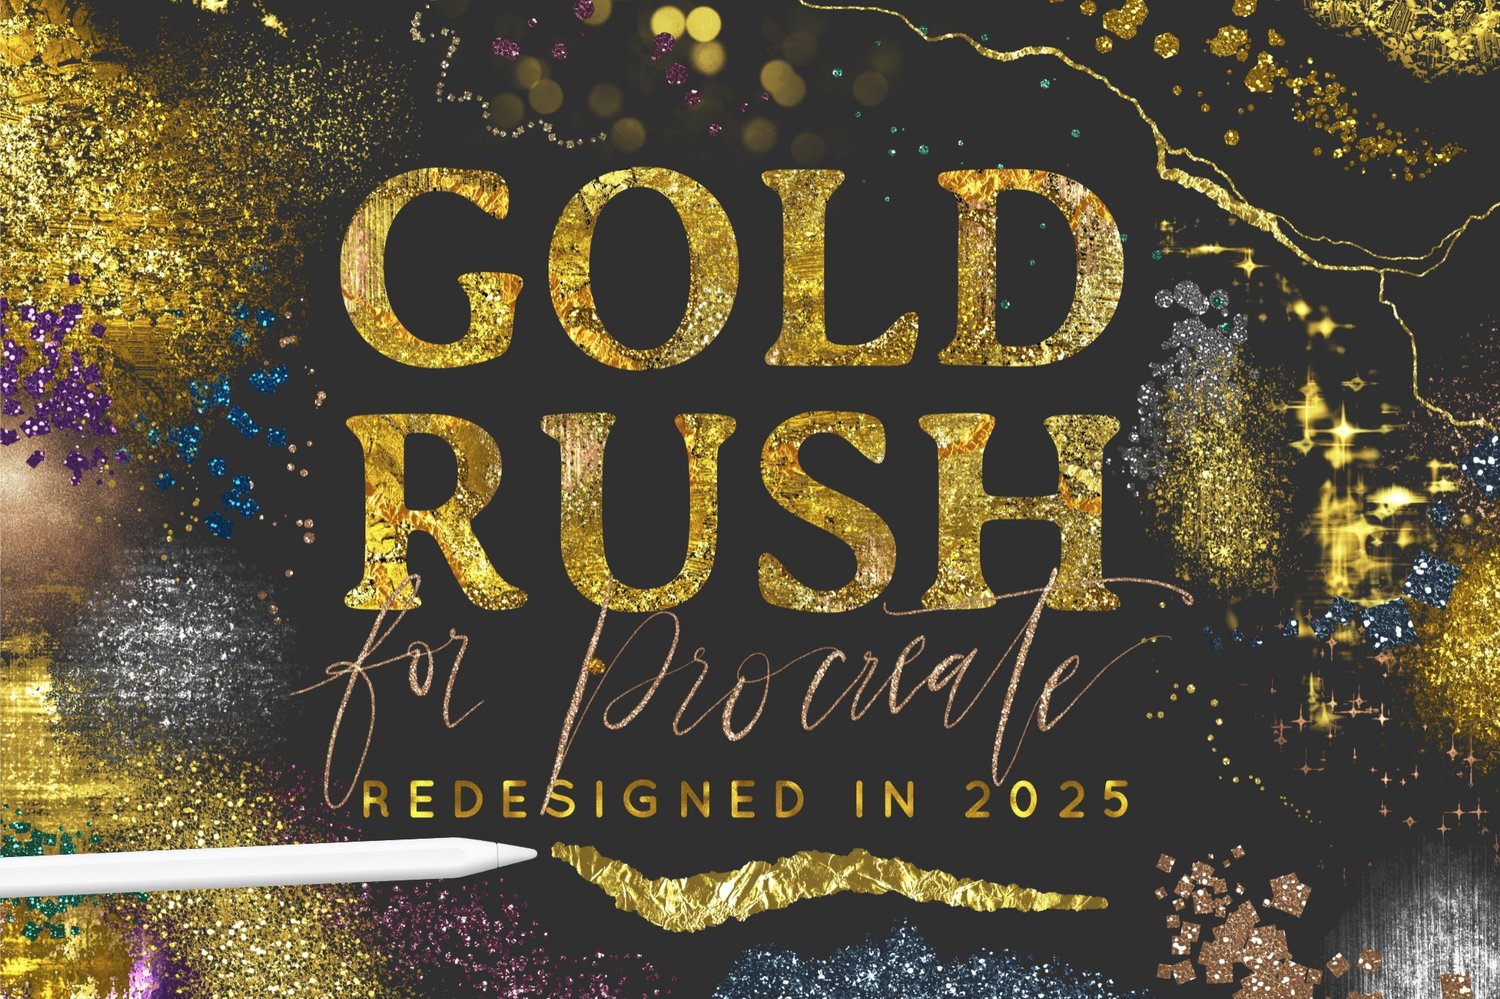
The first thing to be aware of with metallic brushes is that they need to be on a separate layer, above the rest of the artwork. If you are using them on the same layer as something else, they often come out looking flat white because they interact with what is already on that layer, which is why they need their own layer.
It can also be difficult to choose colors that work well with metallic brushes, which is why in some brush sets I’ve included color palettes specifically for this. Generally, darker colors work best and have more depth.
-
For printing digital artwork, the paper choice is very important - I usually suggest going with high quality glossy photo paper for anything including metallics, as it will enhance the shiny illusion. Semi gloss photo paper is another good option.
If you print on regular printer paper or cardstock, it will definitely turn out really bad, because essentially digital art is a photo, and it needs to be printed on photo paper, with a printer that is capable of printing high quality photos.
It’s also very important to set your size in your document before creating the artwork and sending it to a printer, or printing at home. This is because creating a small image and then blowing it up to a larger image creates more pixels than were in the original file and this results in the grainy look, and this would be true when sizing up any type of artwork or photo. So it’s very important to create the artwork in a large size at 300 DPI to begin with so that it will be suitable for printing.
With metallics, the main thing to keep in mind is that it’s not “true" metallics when printed, meaning that it won’t reflect light the way real metallics would - having reflective properties would require *actual* glitter/foil material, which is not something that can be created digitally. It prints out more like a picture of something sparkly, so that it can give the impression of metallics but on closer inspection it’s just a photo, I hope that makes sense? If you are in our facebook group, you can search for #printedartwork to see some examples of how other people’s prints have turned out, and different methods that they have used.
-
First of all, check the opacity slider (bottom left), to make sure that your opacity is all the way up.
If your opacity slider is up and there is still nothing coming out of the brush, it could be a blender brush. Several of my brush sets include blending brushes, which means they do not add anything new to the canvas, instead they blend what is already on the canvas in the particular layer you are on. So if you try using the brushes on a blank layer, nothing will happen because they are only meant to blend what is already there. Each of the blender brushes has a different style of blending so that you can smear and smudge what you have painted and pull it outward or fade it inward.
You'll find more information about the particular brush set, including any blender brushes, by checking out the PDF guide that came with your purchase.
-
It’s not possible to make Vector/AI artwork in Procreate. It’s possible to use the “image trace” function in Adobe Illustrator or a similar program, however even with a very detailed photographic trace (that would create a huge file) this will likely result in artwork that is much less realistic looking (even “cartoony”) because that is the nature of vectors. It depends on the artwork in question, if it’s fairly simple artwork then you could give that a try but if it’s a very detailed piece with lots of texture and/or metallics, I would not advise it.
-
I tend to use a large canvas because when exporting an image for print, it’s better to scale down than to scale up. So if I start with a 16x20" canvas and then decide I want to print it at 8x10” there is no loss in quality. But if it was the other way around and I started out with 8x10”, printing it any bigger than that would result in a pixelated image. It’s also important to make sure that your DPI is set to 300.