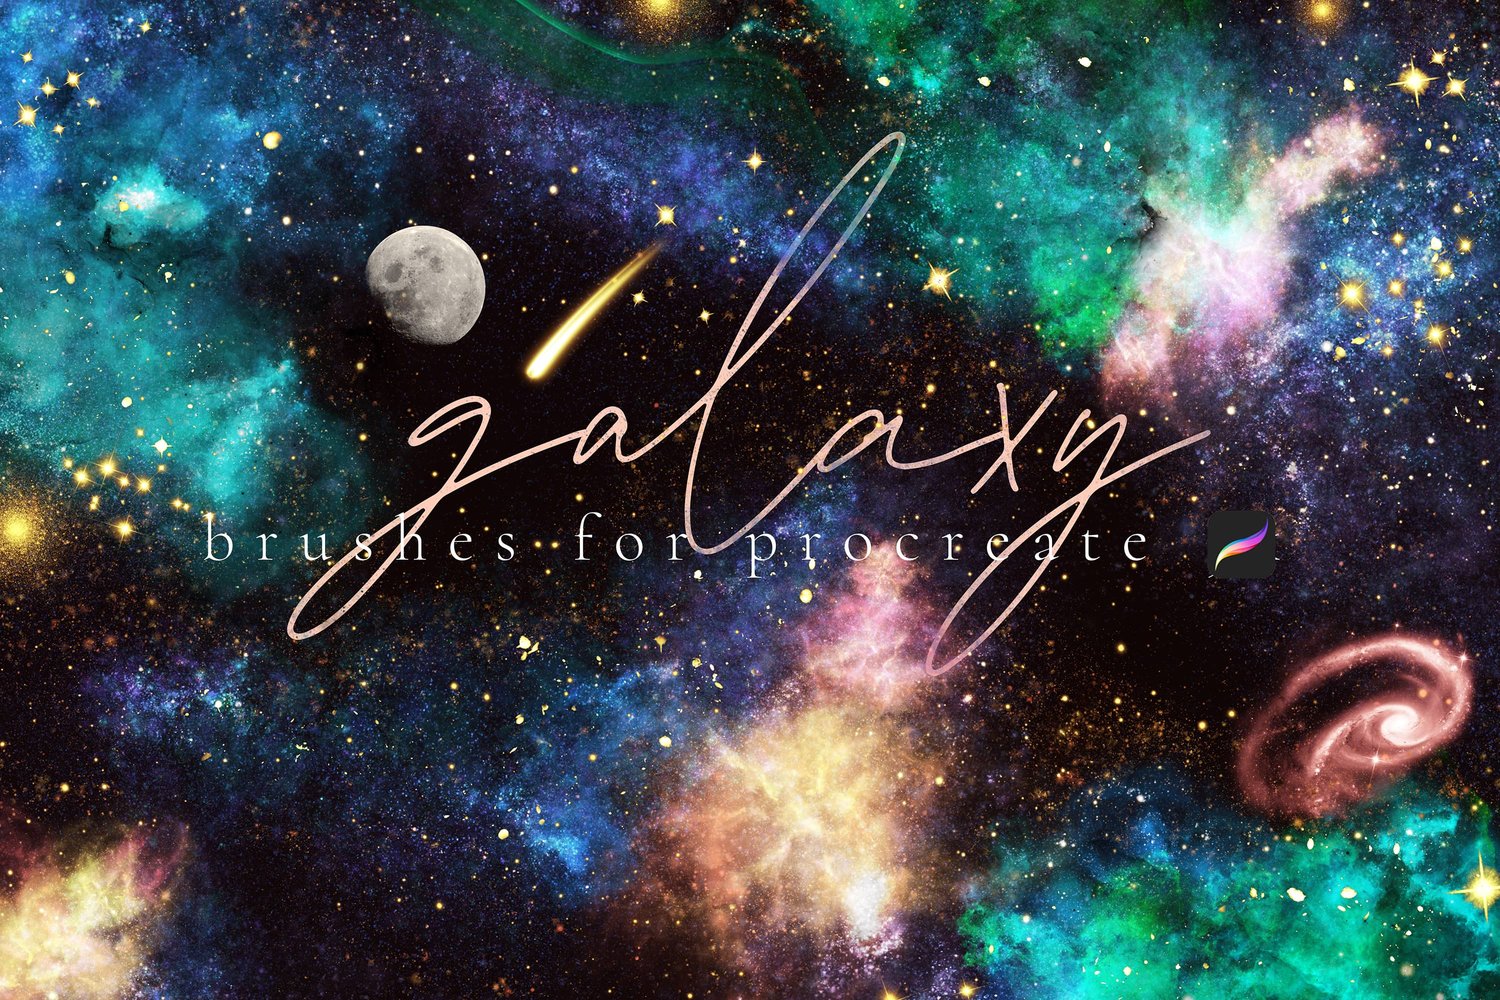
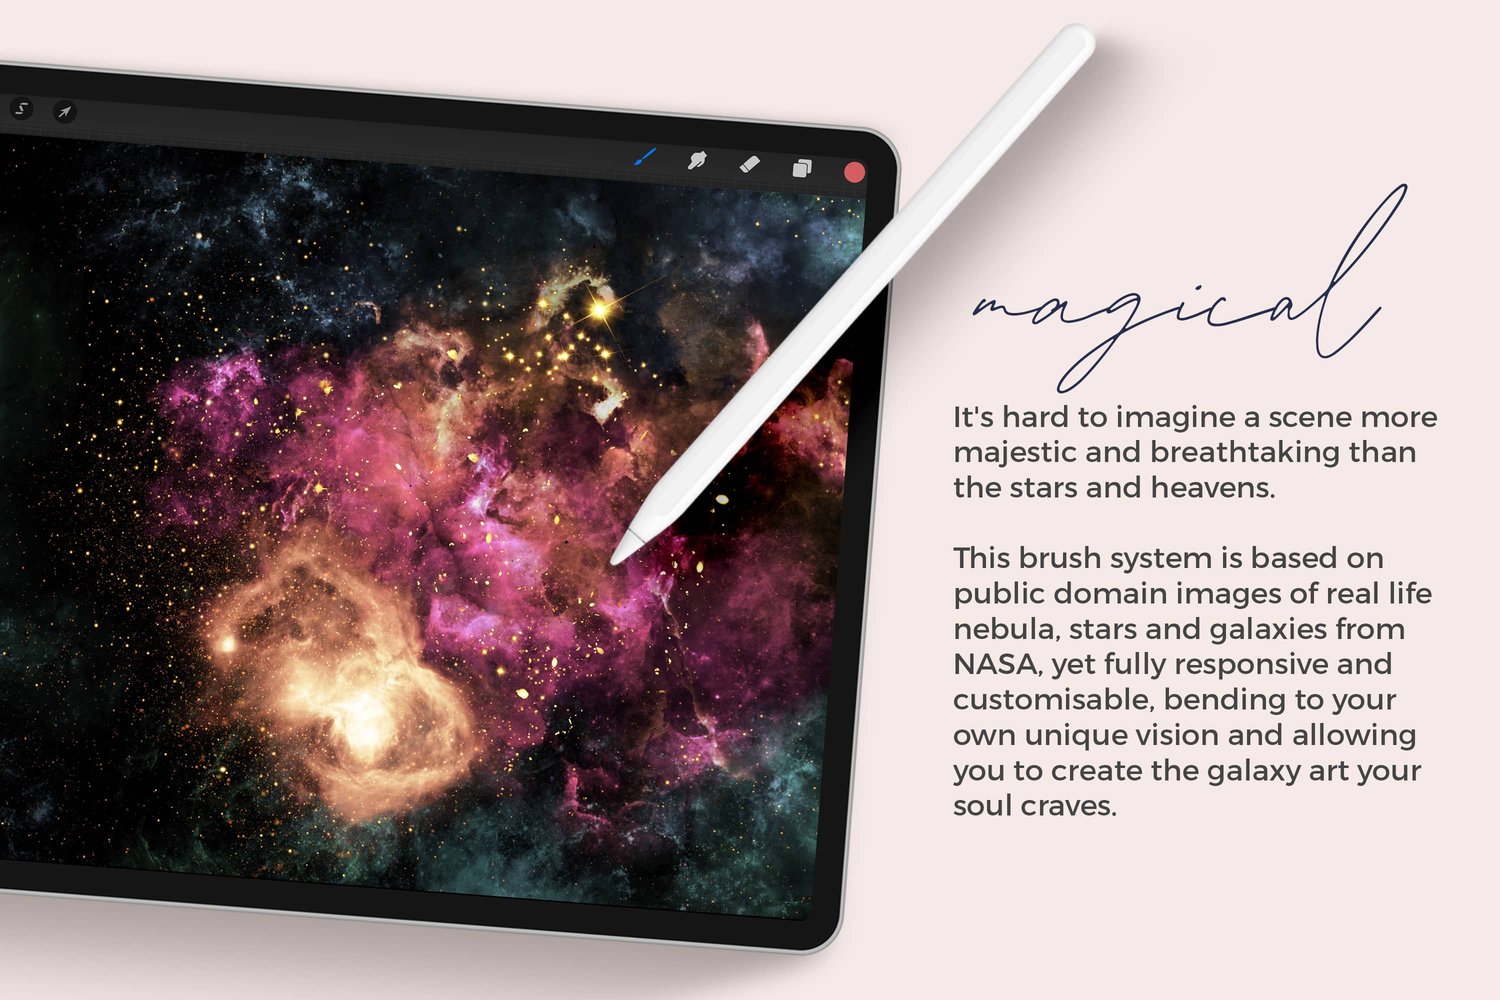
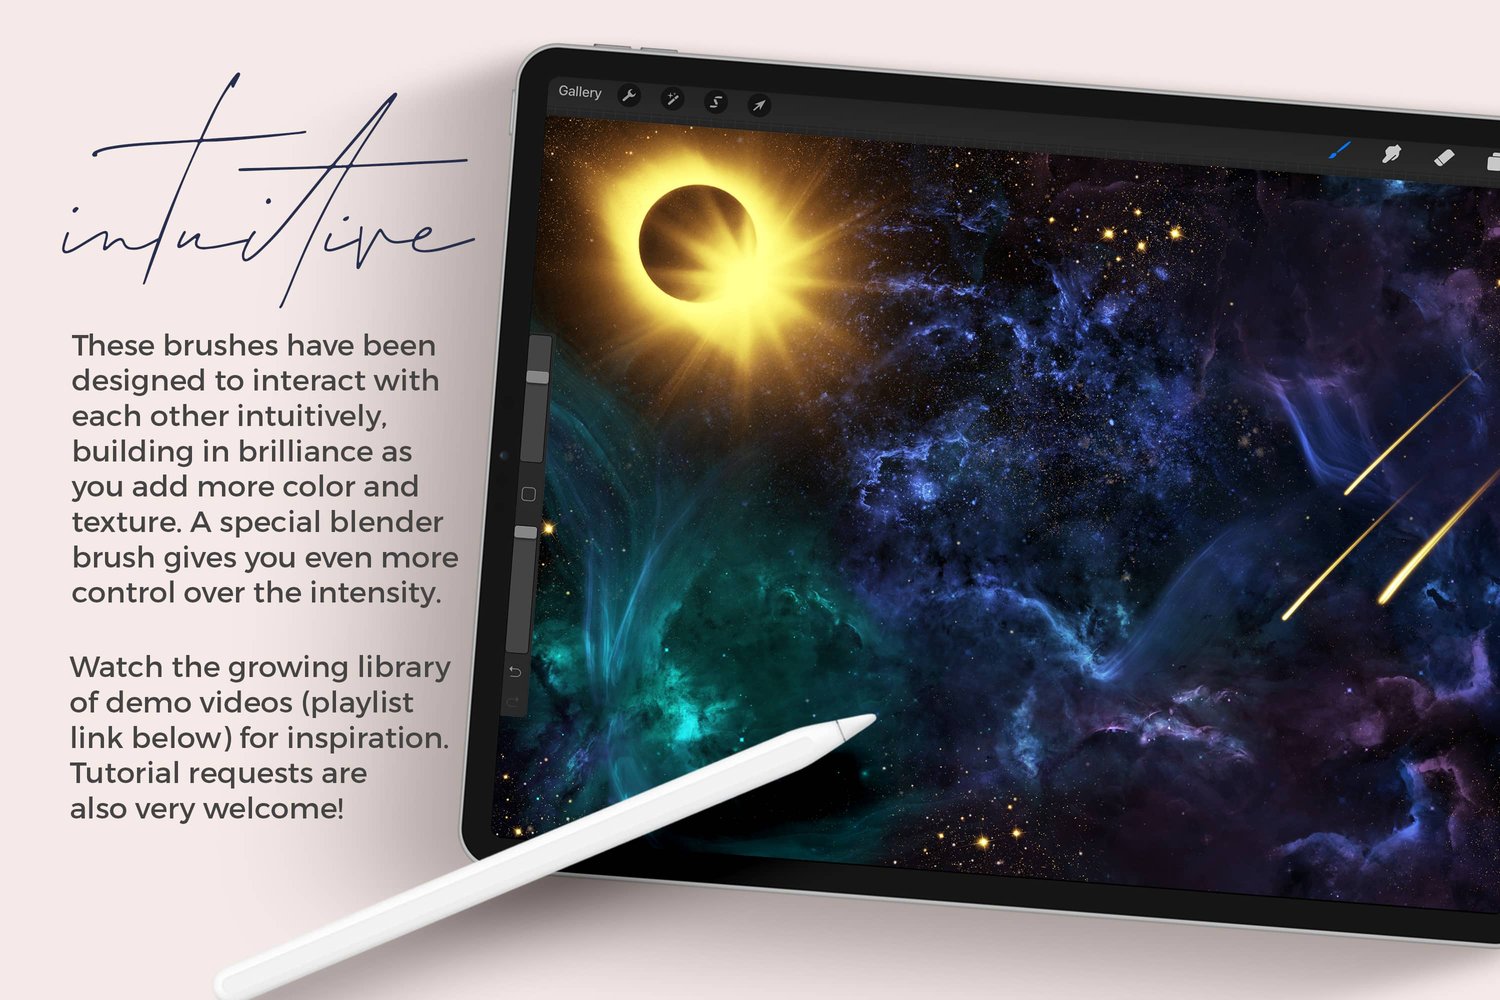
Based on the positive feedback and numerous requests on my last tutorial, I've decided to start a series of triptych videos using various styles and brushes. Today, I'll walk you through the process of creating a triptych with my galaxy brush set. Each panel is not only a part of the bigger picture but also a standalone piece in its own right.
Having trouble viewing the video? You can also watch it on YouTube.
Setting Up Your Canvas
While I went into detail about setting up the canvas in the previous tutorial, I'll give a quick recap here:
- Canvas Dimensions: Open a new canvas of 26 by 12 inches at 300 DPI.
- Grid Setup: Head over to the wrench icon, turn on the drawing guide and edit it. Adjust the grid size to one inch for those perfect squares.
- Color Palette: I'm using the pastel galaxy color palette that accompanies the galaxy brush set. However, feel free to explore with any brushes and colors that you fancy.
For the background, I opted for a dark purple, subtly enhancing its darkness in the value tab to give it that deep night sky feel with a hint of purple.
Creating the Panels
Using the rectangle selection tool with color fill activated, count eight squares to shape your panel. Duplicate the panel layer three times and space them out evenly with snapping turned on, ensuring there's a slight gap between each.
Nebula Clouds
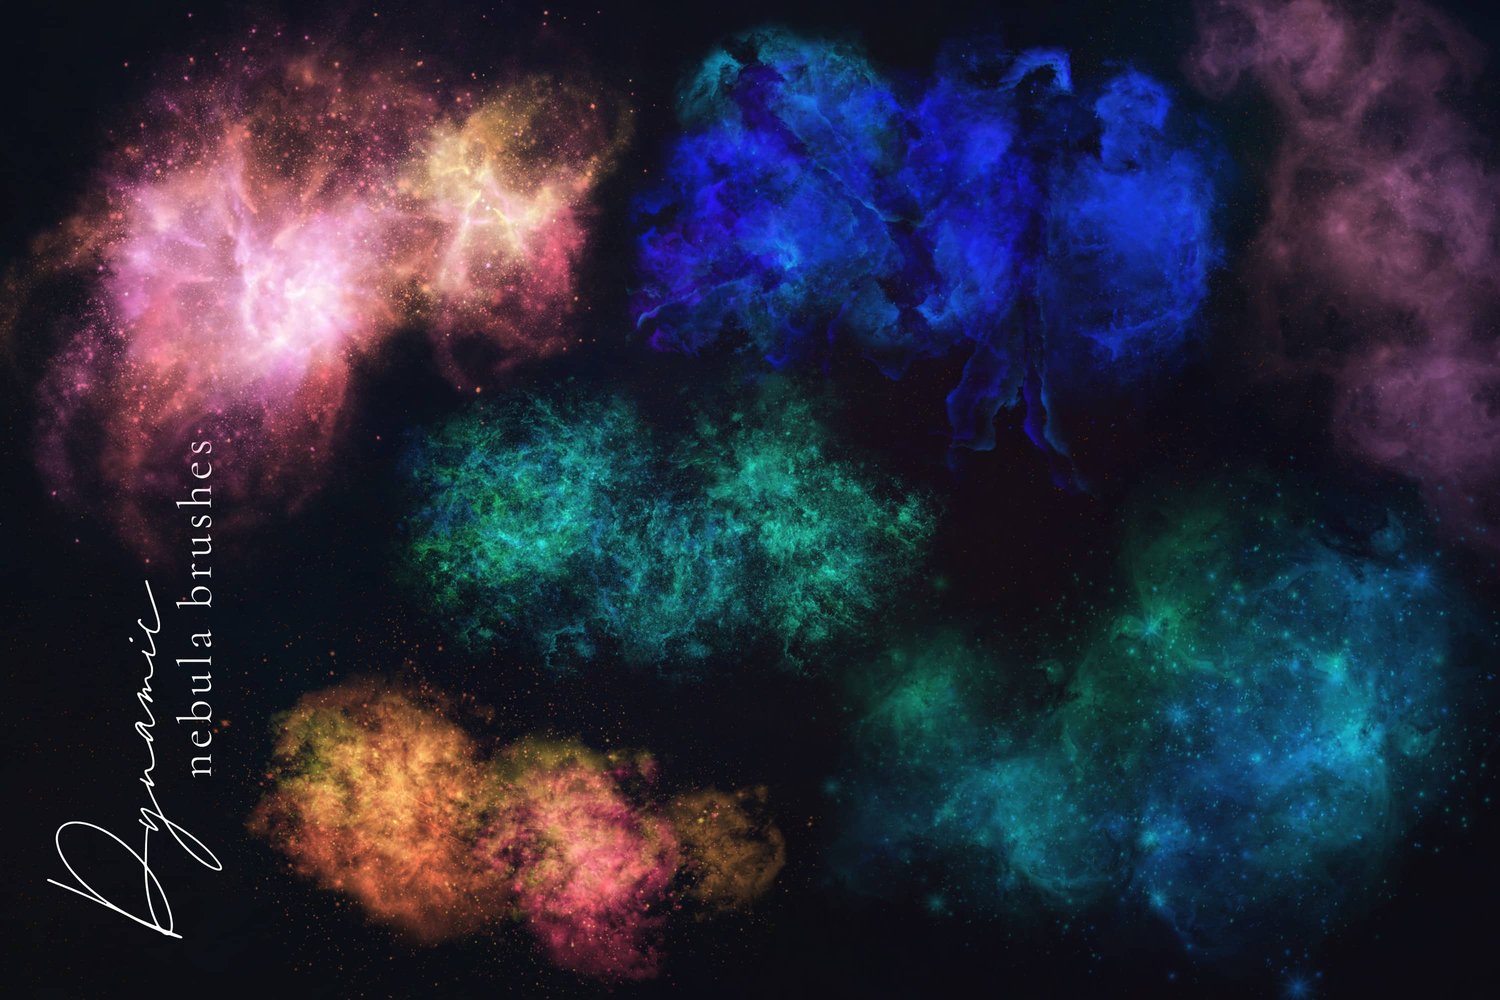
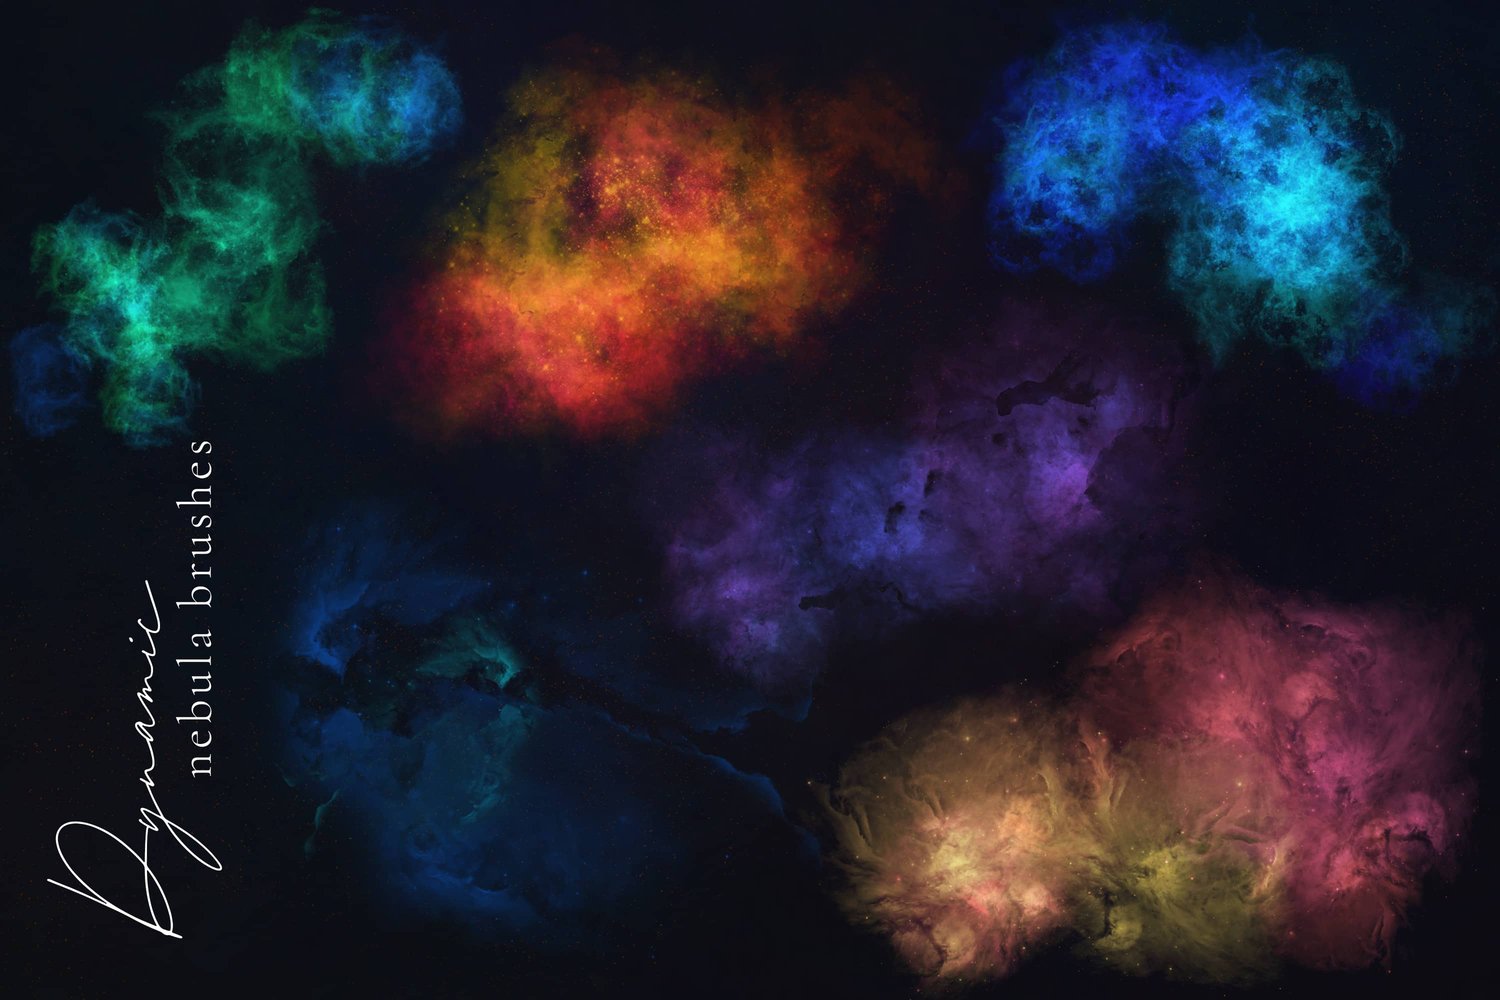
Open the galaxy dynamic folder and select a Nebula brush. I opted for Nebula brush number six (with color variation). Gently dab across all three panels in the dedicated artwork layer, ensuring the panels remain unchanged. The outcoms is a colorful texture that ties all panels together.
Dust Clouds
Bring your artwork to life by introducing the light dust cloud brush. Starting with a bright yellow, dapple across the artwork, then shift to a light blue for variety. Try adding the clouds in concentrated, specific areas rather than spread out uniformly.
Stars
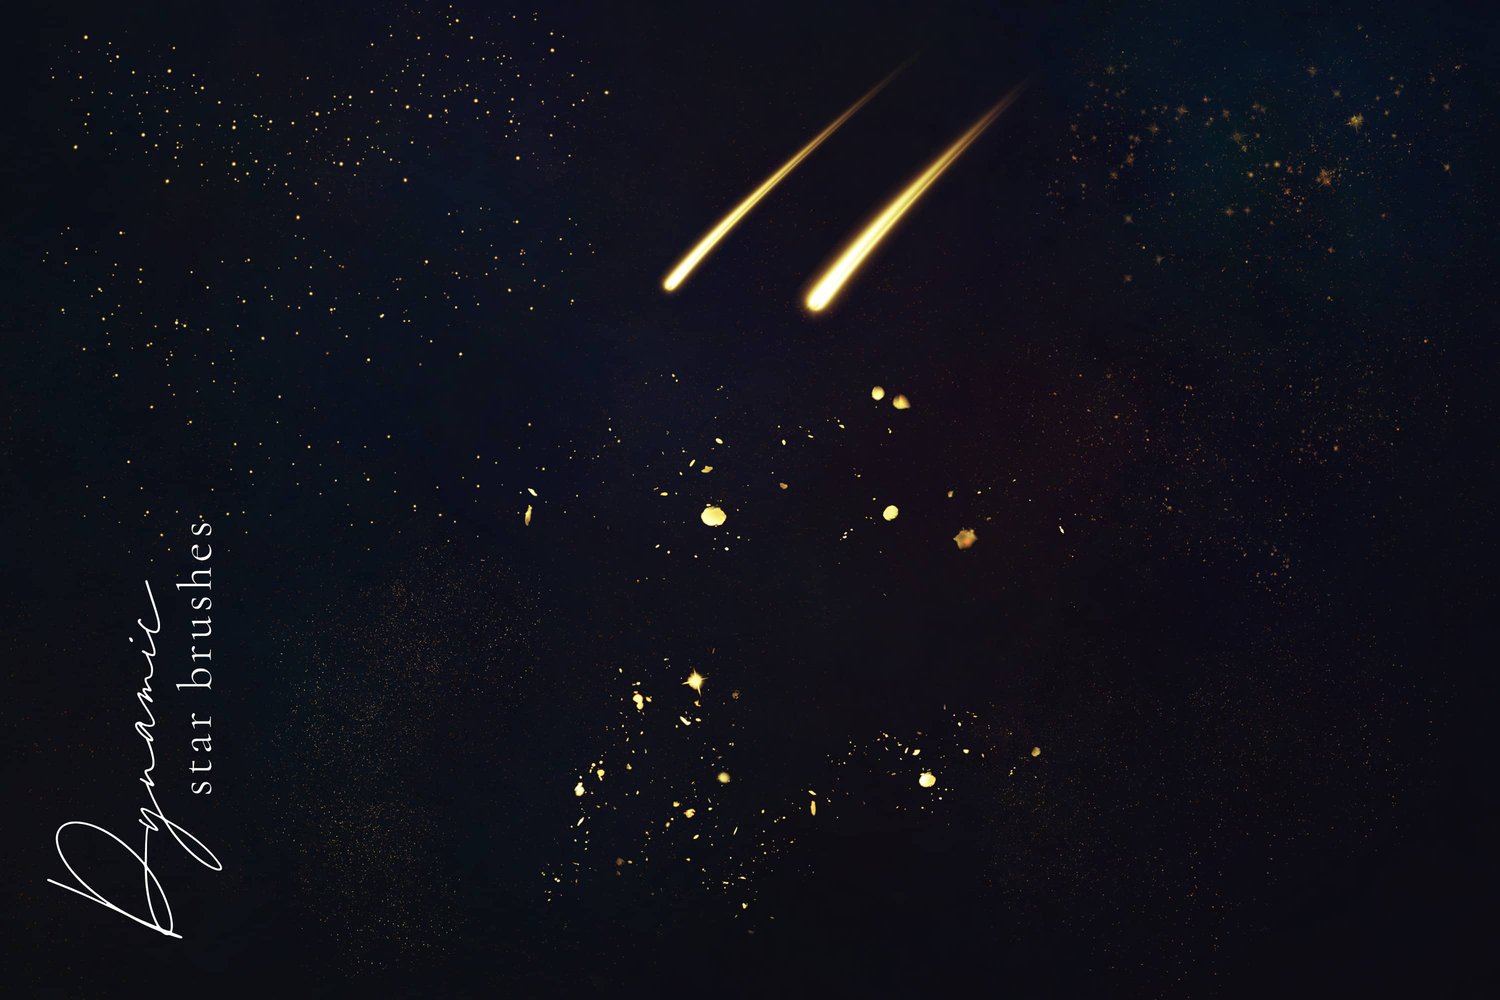
To fill some of the emptier spaces, Stardust brush number three is a good choice. Using a beige-gold hue, add soft stars to the darker portions of the panels. For individual prominent stars, switch to the Starburst stamp and create a new layer to make these stars pop.
Planets and Galaxies
- Blue Planet: To complement the blue nebula, create a bright blue planet using the Io Moon stamp. Place this on a new layer, and experiment with letting it span across two panels.
- Pink Spiral Galaxy: Introduce a soft pink spiral galaxy using the peachy color palette. This unique addition brings an element of intrigue, especially as it cuts off across the panels.
Finalizing Your Triptych
Now that the artwork is complete, it's time to separate the panels:
- Go to the gallery and duplicate your project three times (total of 4).
- For each duplicate, crop and resize under the wrench icon to 8 by 12 inches.
- Adjust each cropped image to align with the corresponding panel.
Happy creating!


