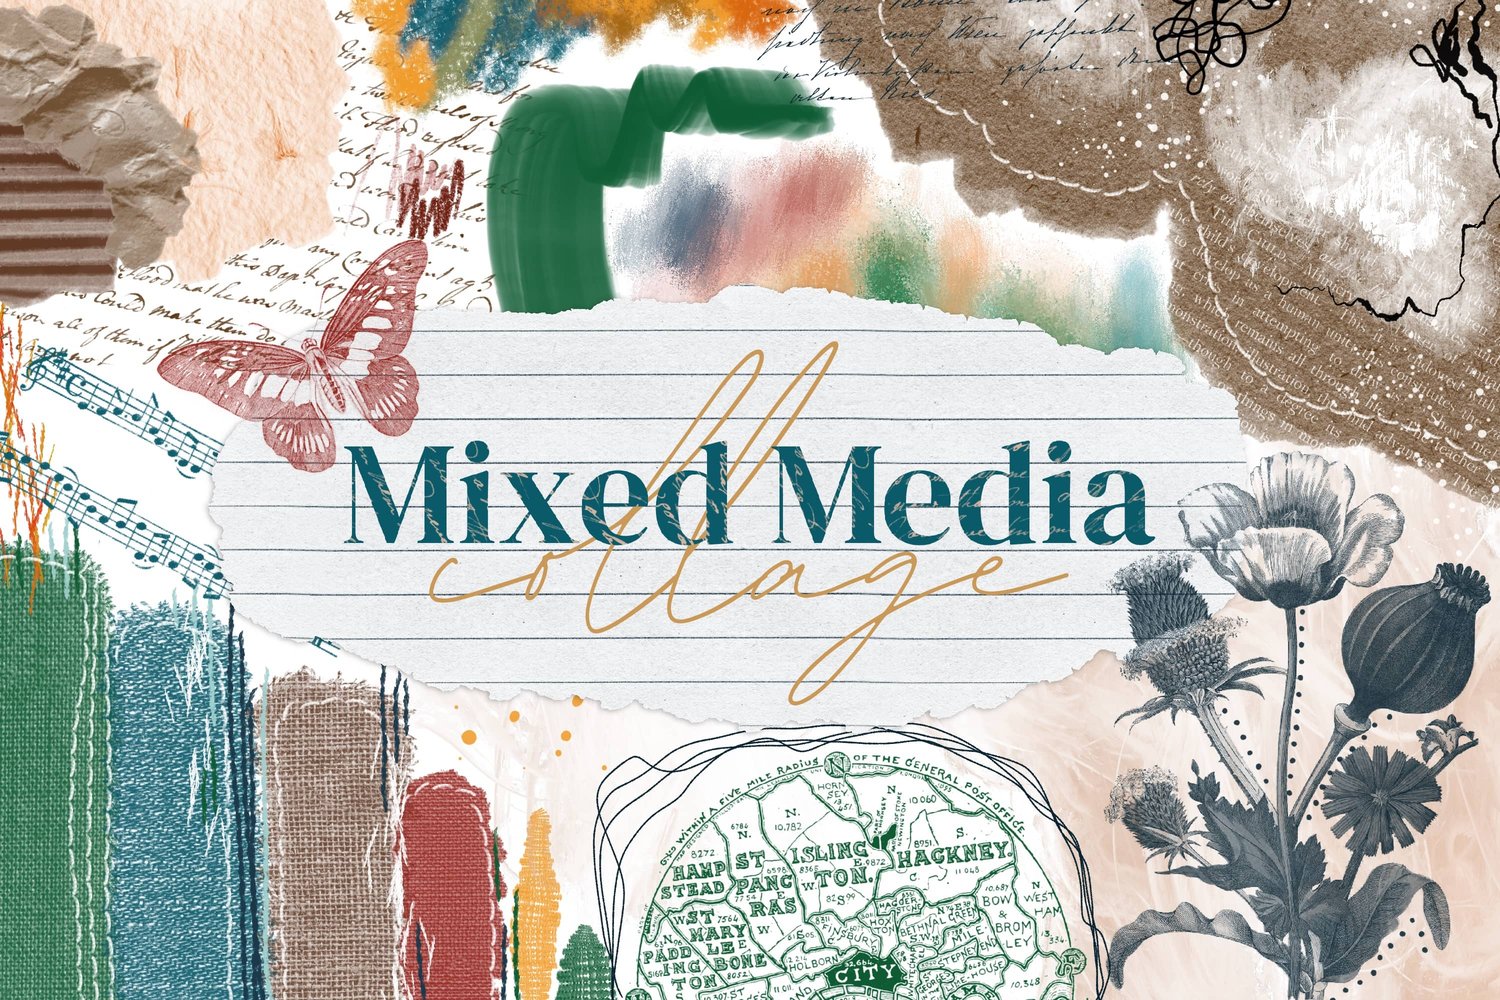
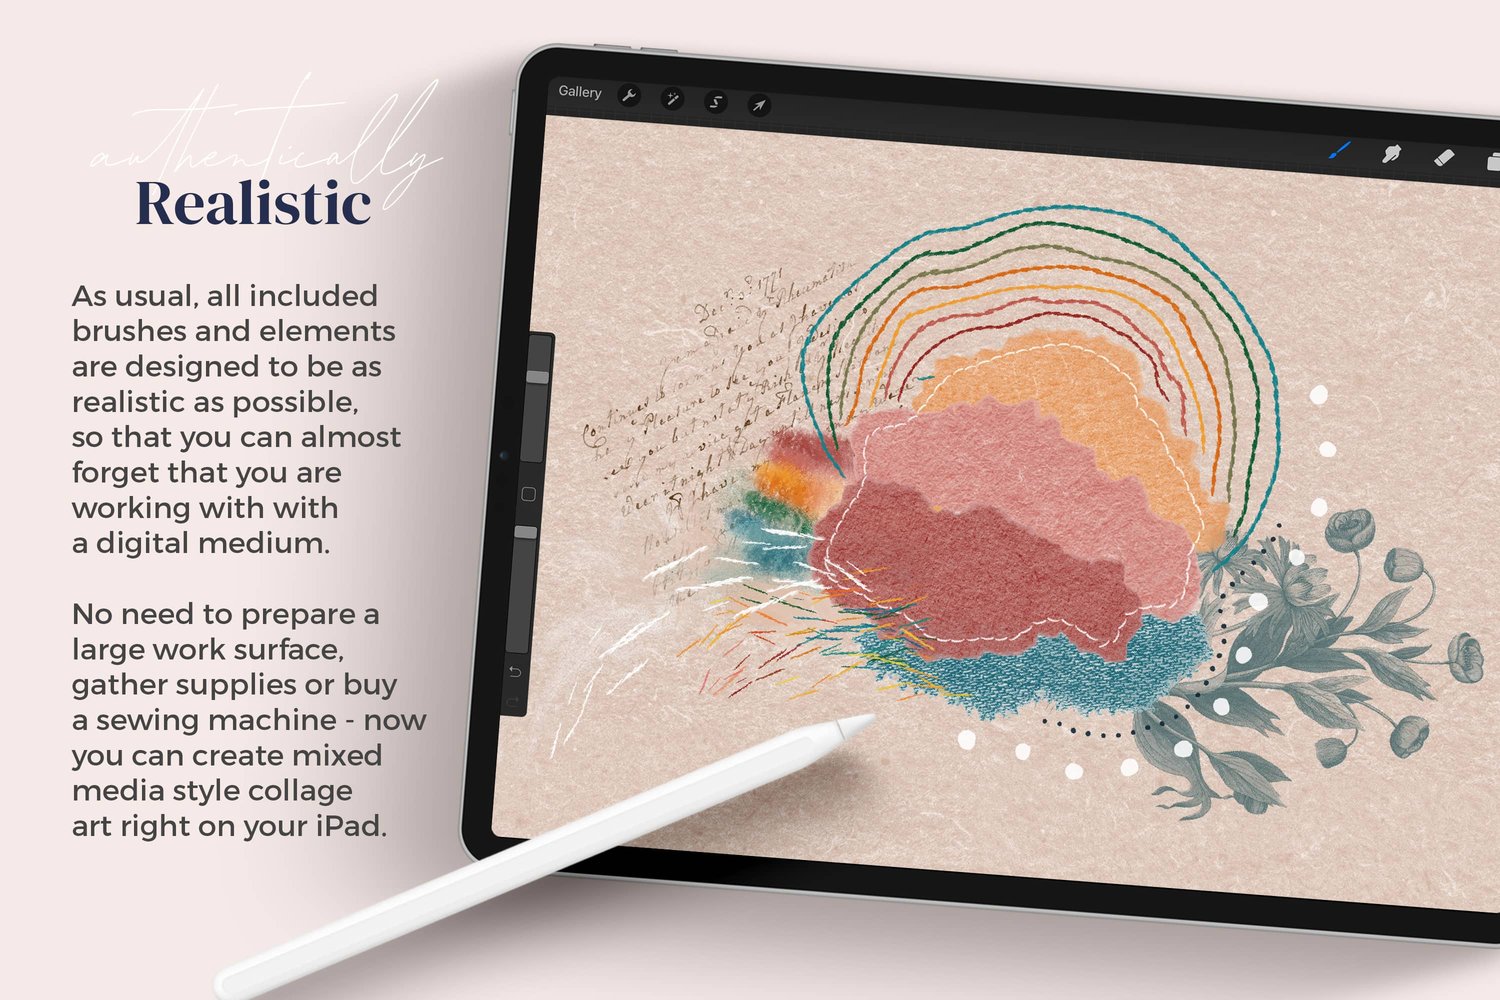
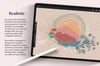
I’ve been playing with a simple, satisfying Procreate prompt lately and thought you might like to try it too. It involves adding color and texture on first few layers, “hiding” it with a single color fill layer, then doodling with the eraser tool to reveal what’s underneath. The piece sort of evolves on its own as you go. It’s easy, abstract, and works with any brushes. For my version, I’m using my Mixed Media brush set and free Mixed Media Rainbow color palette.
You’re welcome to follow along with the steps below, as loosely or closely as you want, and make it your own.
Having trouble viewing the video? You can watch it on YouTube instead.
Step 1: Set Up Your Canvas
- Create a new canvas sized 3000 x 2000 pixels in Procreate.
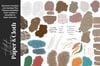
- Download and install the free Mixed Media Rainbow palette (or any other palette of your choice).
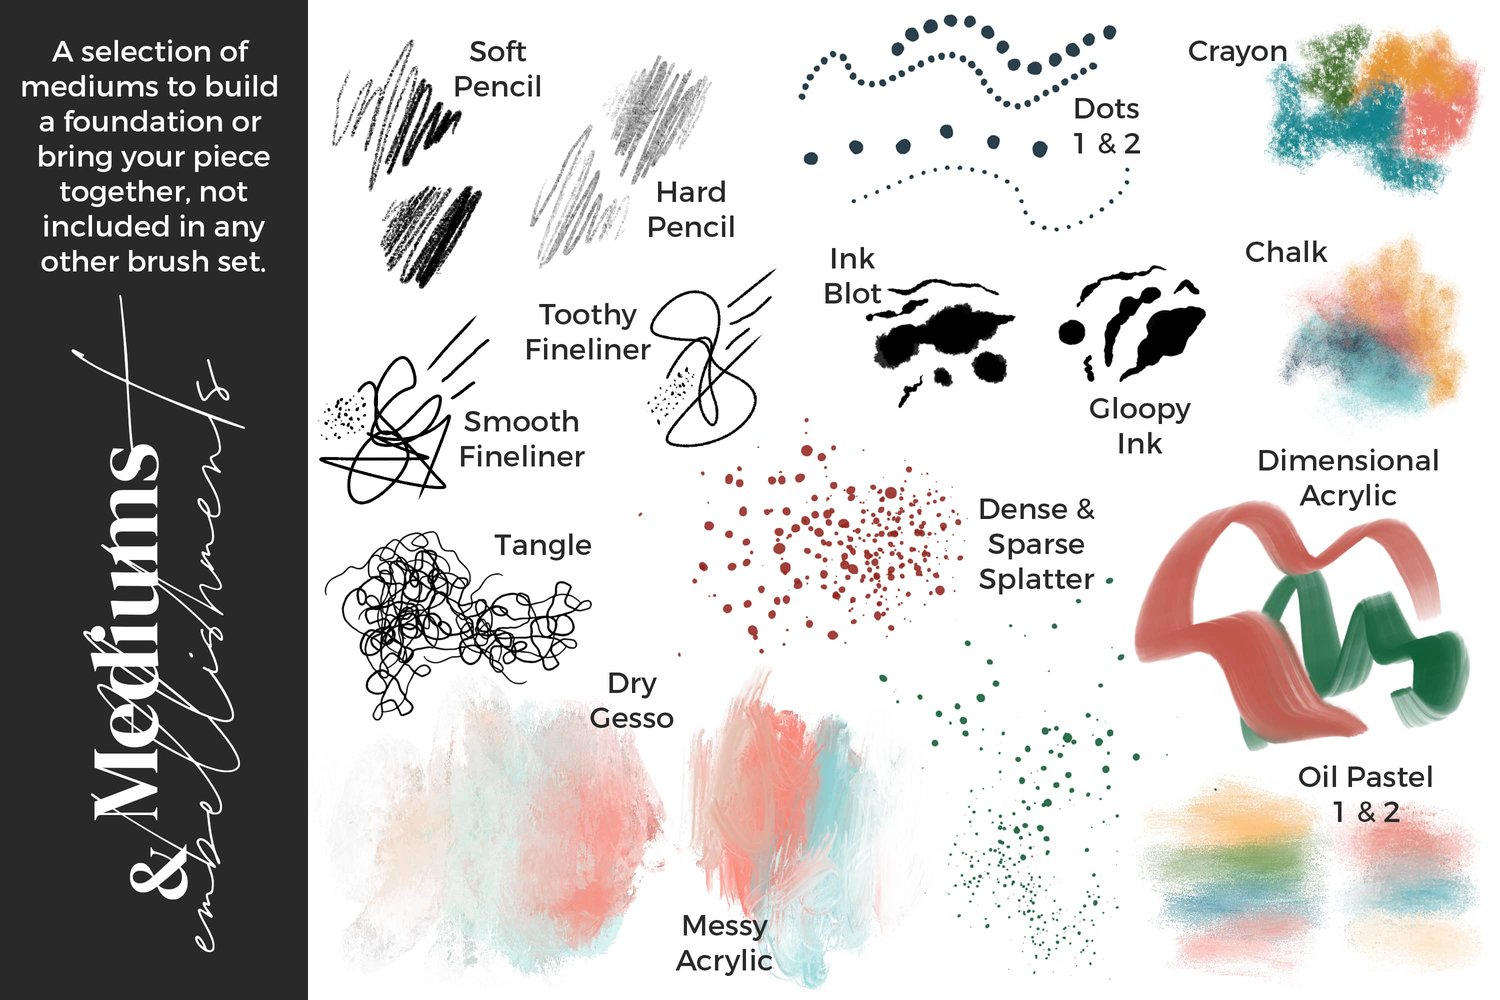
- Choose a brush set - I'm using my Mixed Media brush set.
Step 2: Paint the Base Layers
- Select the Dry Gesso brush (alternative: Airbrushing - Soft Brush).
- On a new layer called Base Color, randomly add strokes of color from the palette.
- Add a new layer above that and name it Splatter 1.
- Using the Dense Splatter brush (alternative: Spraypaints - Flicks), add splatters in similar colors to your base layer, occasionally using lighter versions for variation.
- Add a third layer above that and name it Splatter 2.
- This time use the Sparse Splatter brush and choose contrasting or unexpected colors.
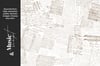
Step 3: Cover It Up
- Add a new layer on top and call it Erasing Layer.
- Pick a soft off-white or desaturated beige and drag the color into the layer and drop it.
- This should fill the layer and hide your texture below.
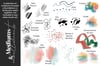
Step 4: Start Erasing
- Under the Eraser tool, choose the Tangle brush (alternative: draw random scribbles with Inking - Studio Pen ).
- Use the eraser tool on the top layer to selectively reveal the texture and color beneath.
- Erase in different directions and play with pressure to keep things spontaneous.
- Focus on revealing areas where textures intersect or colors contrast nicely.
Step 5: Erasing Adjustments
- Under the Eraser Tool, switch to the Smooth Fine Liner brush from the Mixed Media brush set (alternative: Studio Pen).
- Using the eraser tool, selectively go over the random scribbles you've created and fill in some areas to form larger, more defined shapes.
- Zoom out occasionally to assess the overall composition and decide which areas to fill in or leave blank.
- Still using the Smooth Fine Liner, switch back to the Brush Tool and use the same off white color to paint over any edges that need smoothing, ensuring all shapes are closed.
- Return to the eraser tool with the Smooth Fine Liner to refine details further, possibly adding a few small shapes or lines to enhance the design.
Step 6: Outline Some Shapes
- Create a new layer above everything and name it Embellishments.
- Using the Gloopy Ink brush (alternative: Inking - Syrup), use white to outline some of the shapes you've created.
- Optionally, consider outlining negative space in between shapes as well.
- You don’t need to outline everything, just a few shapes and areas that stand out to you or feel interesting.
Step 7: Add White Splatter
- Select the Dense Splatter brush.
- Add white splatter with varied pressure to a few focal areas.
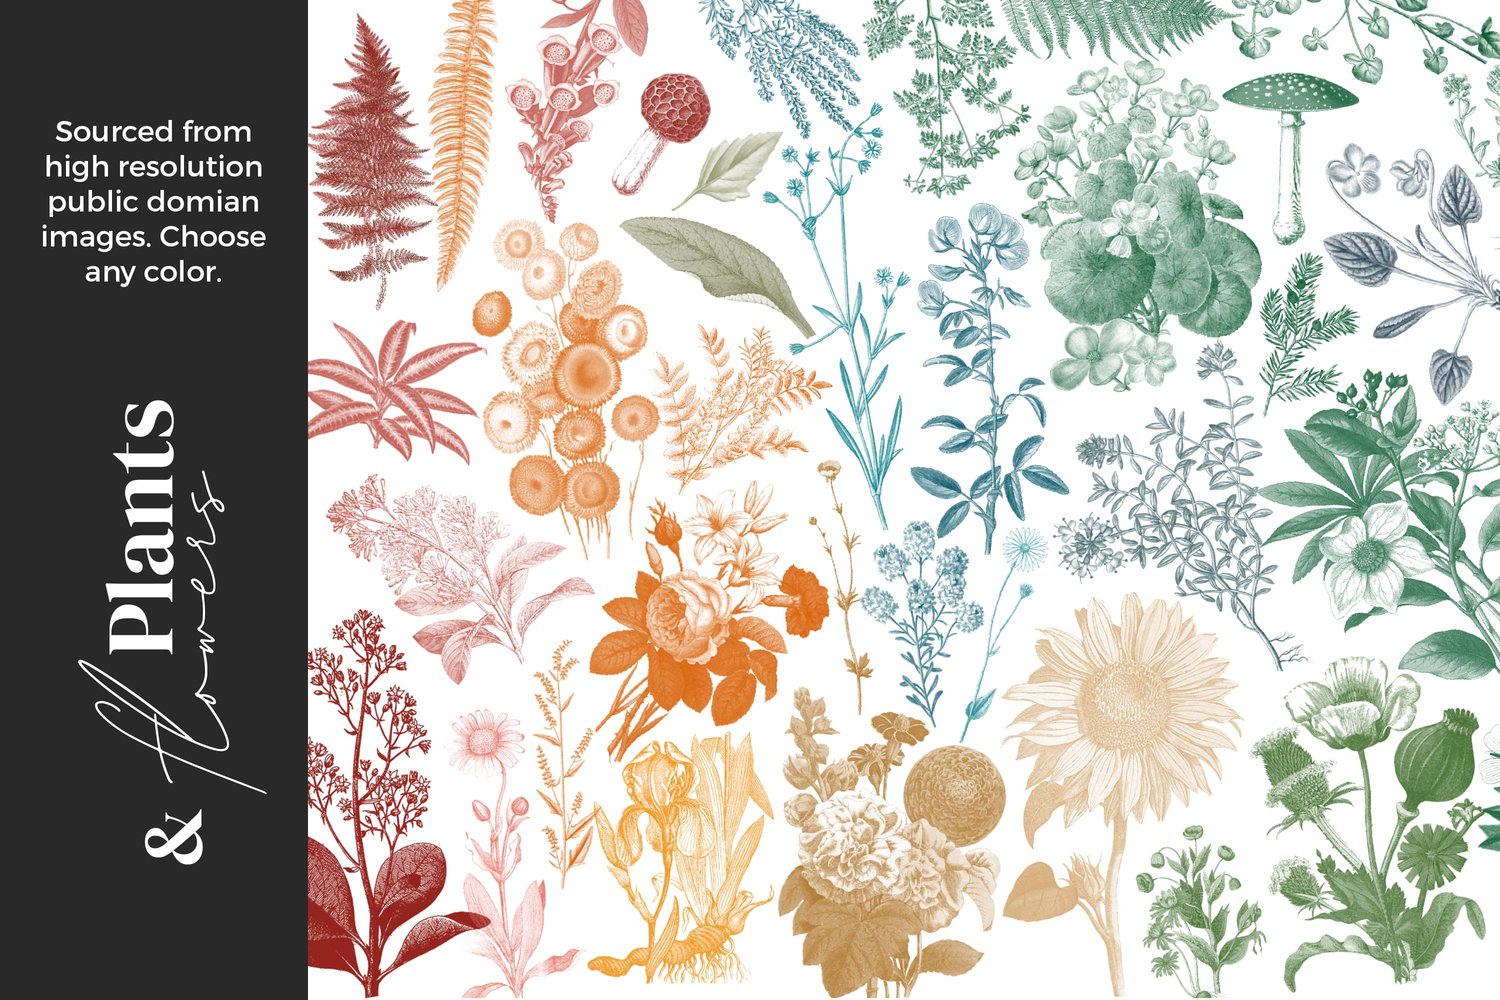
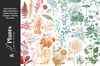
Step 9 (Optional): Add Floral Doodles
- Create a new layer and name it Florals.
- Select a dark blue color from your palette (or any contrasting dark color).
- Using the Gloopy Ink brush, doodle some messy looking florals over top of your composition.
- Optionally, add more details with Dotted Line 1
Step 10 (Optional): Make Changes to Base Layers
- Select the Splatter 1 layer
- Using the Move tool, flip vertical and/or horizontal until you're happy with the result.
- This is your chance to rebalance color or texture if something feels off.
Final Thoughts
This is a great low pressure prompt when you want to make something abstract and intuitive. You can repeat the process with different color palettes or brushes for endless variation. It’s also a good base for layering lettering, collage elements, or even pattern brushes on top. Just have fun seeing where it goes.
I would love to see what you come up with! You're very welcome to tag me on Instagram @alainajensen, use #alainajensenbrushes or share your work in our free facebook group.
If you have any questions please click here to contact me. I'm always happy to help!
You can click below for more information about the brushes.