Learn how to create a contrasty, abstract gold shape collage, using geometric shapes and metallic textures in Procreate. This beginner friendly tutorial focuses on clean lines, thoughtful composition, and layering different gold textures for depth and contrast.
Canvas Setup
- Size: 20 × 16 inches at 300 DPI
- Brush Sets Used:
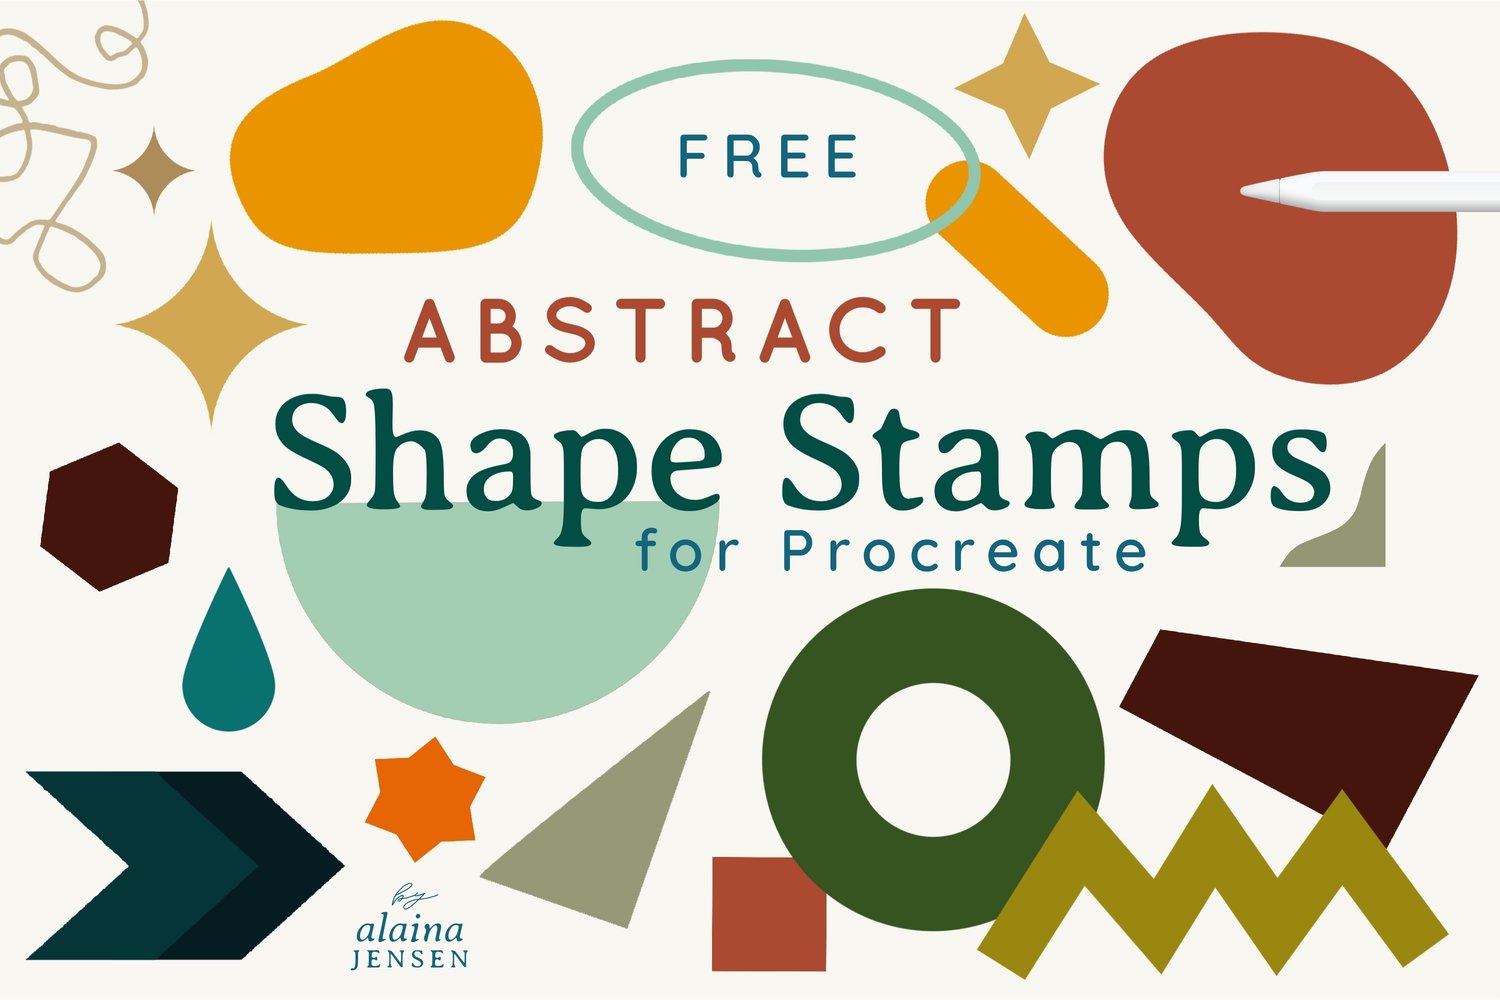
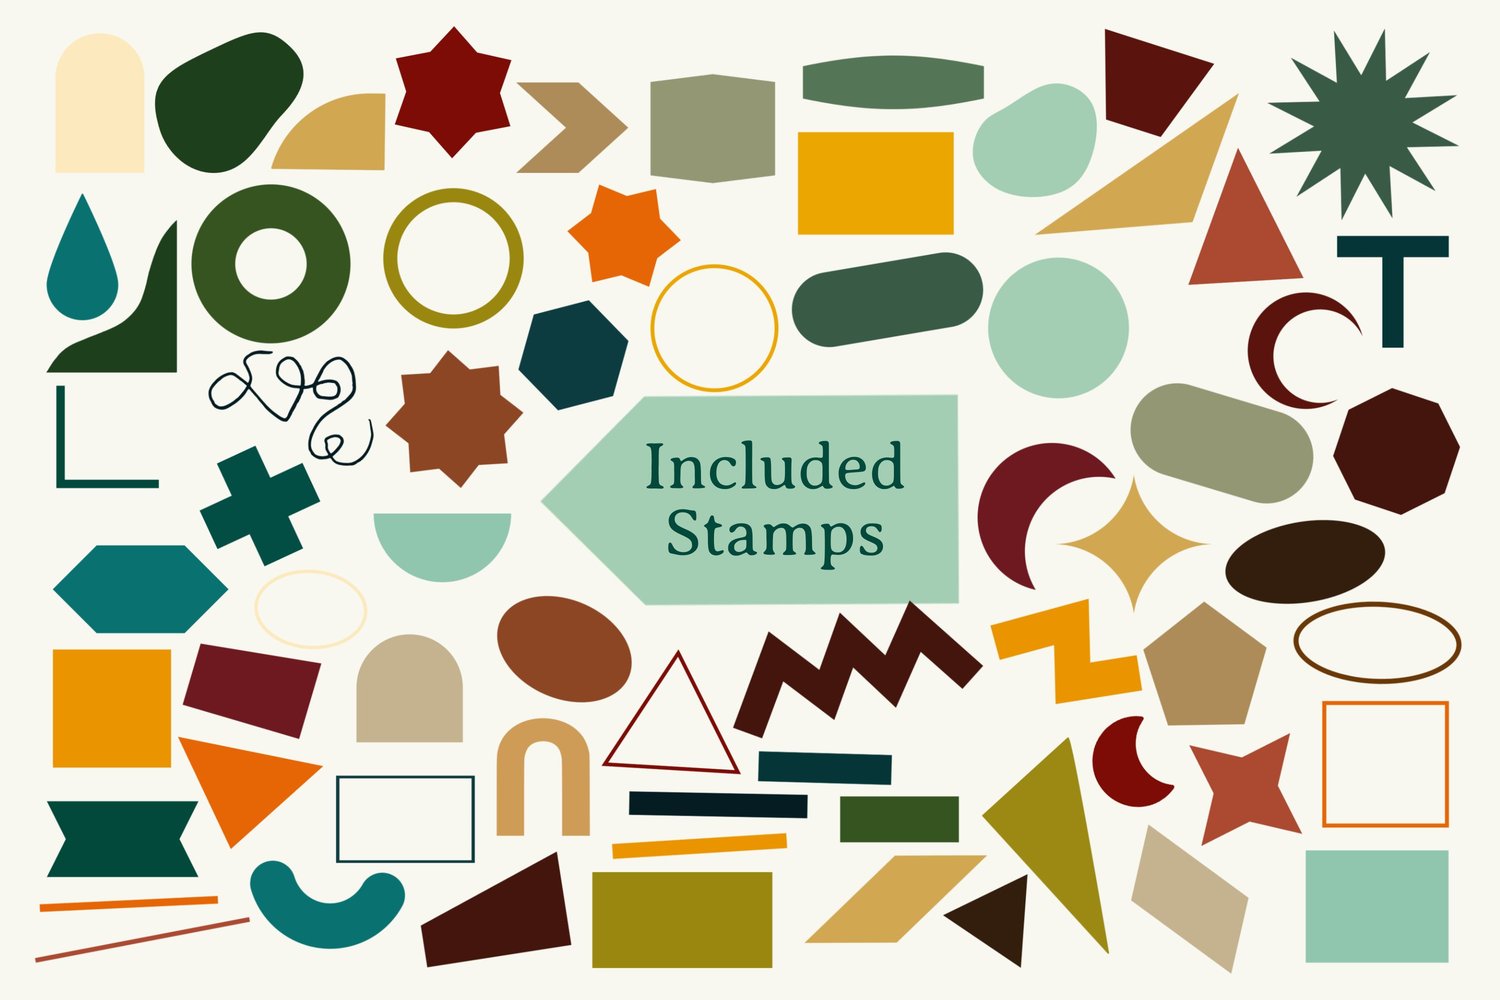
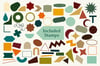
- Abstract Shape Stamps (free)
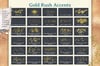
- Gold Rush Brush Set (paid)
- Color Palette: Gold Rush (comes with the set)
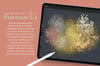
Step 1: Build Your Shape Composition
Create each shape on its own layer so you can rearrange freely.
Stamps Used (Abstract Shape Stamps set):
- Arch – your main focal point
- Burst – for radiating energy
- Star #4 – placed in three locations
- Half Circle – for balance
- Wobble – organic contrast
Start by stamping shapes in black. Lower the opacity on each layer slightly so you can see overlaps as you compose. Once you're happy with the arrangement, turn snapping on and center everything on your canvas. Then bring all layers back to 100% opacity.
Step 2: Set Your Background Color
Switch to the Gold Rush Color Palette and choose the deep burgundy purple for your background. This dark color will make your gold textures really pop.
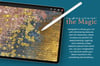
Step 3: Apply Gold Textures
For each shape, add a new layer above it, tap the layer, and select Clipping Mask. This means whatever you paint will only show up on the shape below.
Brushes Used (Gold Rush textures):
For the Wobble:
- Weathered Metal – in gold, tapped on deliberately for interesting overlaps
For the Stars:
- Foil #2 – in a lighter metallic tone, with shine coming from one consistent direction
For the Half Circle:
- Brushed Steel – in standard gold on top, then rose gold below for variety
For the Burst:
- Weathered Metal – in rose gold, creating an old sundial effect
For the Arch:
- Shimmer Veins – in standard gold for a glittery, painterly texture
As you apply each texture, merge the clipping mask layer down with its shape to stay organized.
Step 4: Add Subtle Background Accents
Create a new layer behind all your shapes and name it "background."
Brushes Used (Gold Rush accents):
- Glitter Dust – in rose gold, focused in two corners
- Bokeh – in standard gold on a second background layer for soft light spots
Keep these accents subtle and mostly in the corners. You can erase any bits that feel too busy.
Step 5: Add Shadows for Depth
To make certain shapes pop, add shadows to the burst, half circle, and wobble (leave the stars and arch flat for contrast).
For each shape:
- Duplicate the layer
- Tap the duplicate and select Alpha Lock
- Fill with black
- Turn Alpha Lock off
- Go to Adjustments > Gaussian Blur and set to about 10%
- Reduce layer opacity to around 50%
This creates a subtle offset shadow that adds dimension without overwhelming the clean lines.
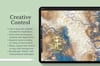
Optional Adjustments
Try different background colors to see what you prefer. The deep burgundy purple creates strong contrast, but you might enjoy experimenting with other rich, dark tones.
This project is all about restraint and letting clean lines shine. The metallic textures add depth and interest while the composition stays balanced and intentional. It's a great exercise in practicing simplicity, and the large canvas size means you can print it if you'd like to frame your finished piece.